If you’re hoping to give your kitchen a new vibe without blowing your savings, you’re in the right spot. A kitchen makeover doesn’t have to be expensive—just focus on simple updates like painting cabinets, swapping out hardware, and tackling a few easy DIY fixes. Even small changes can totally shift how your kitchen feels.
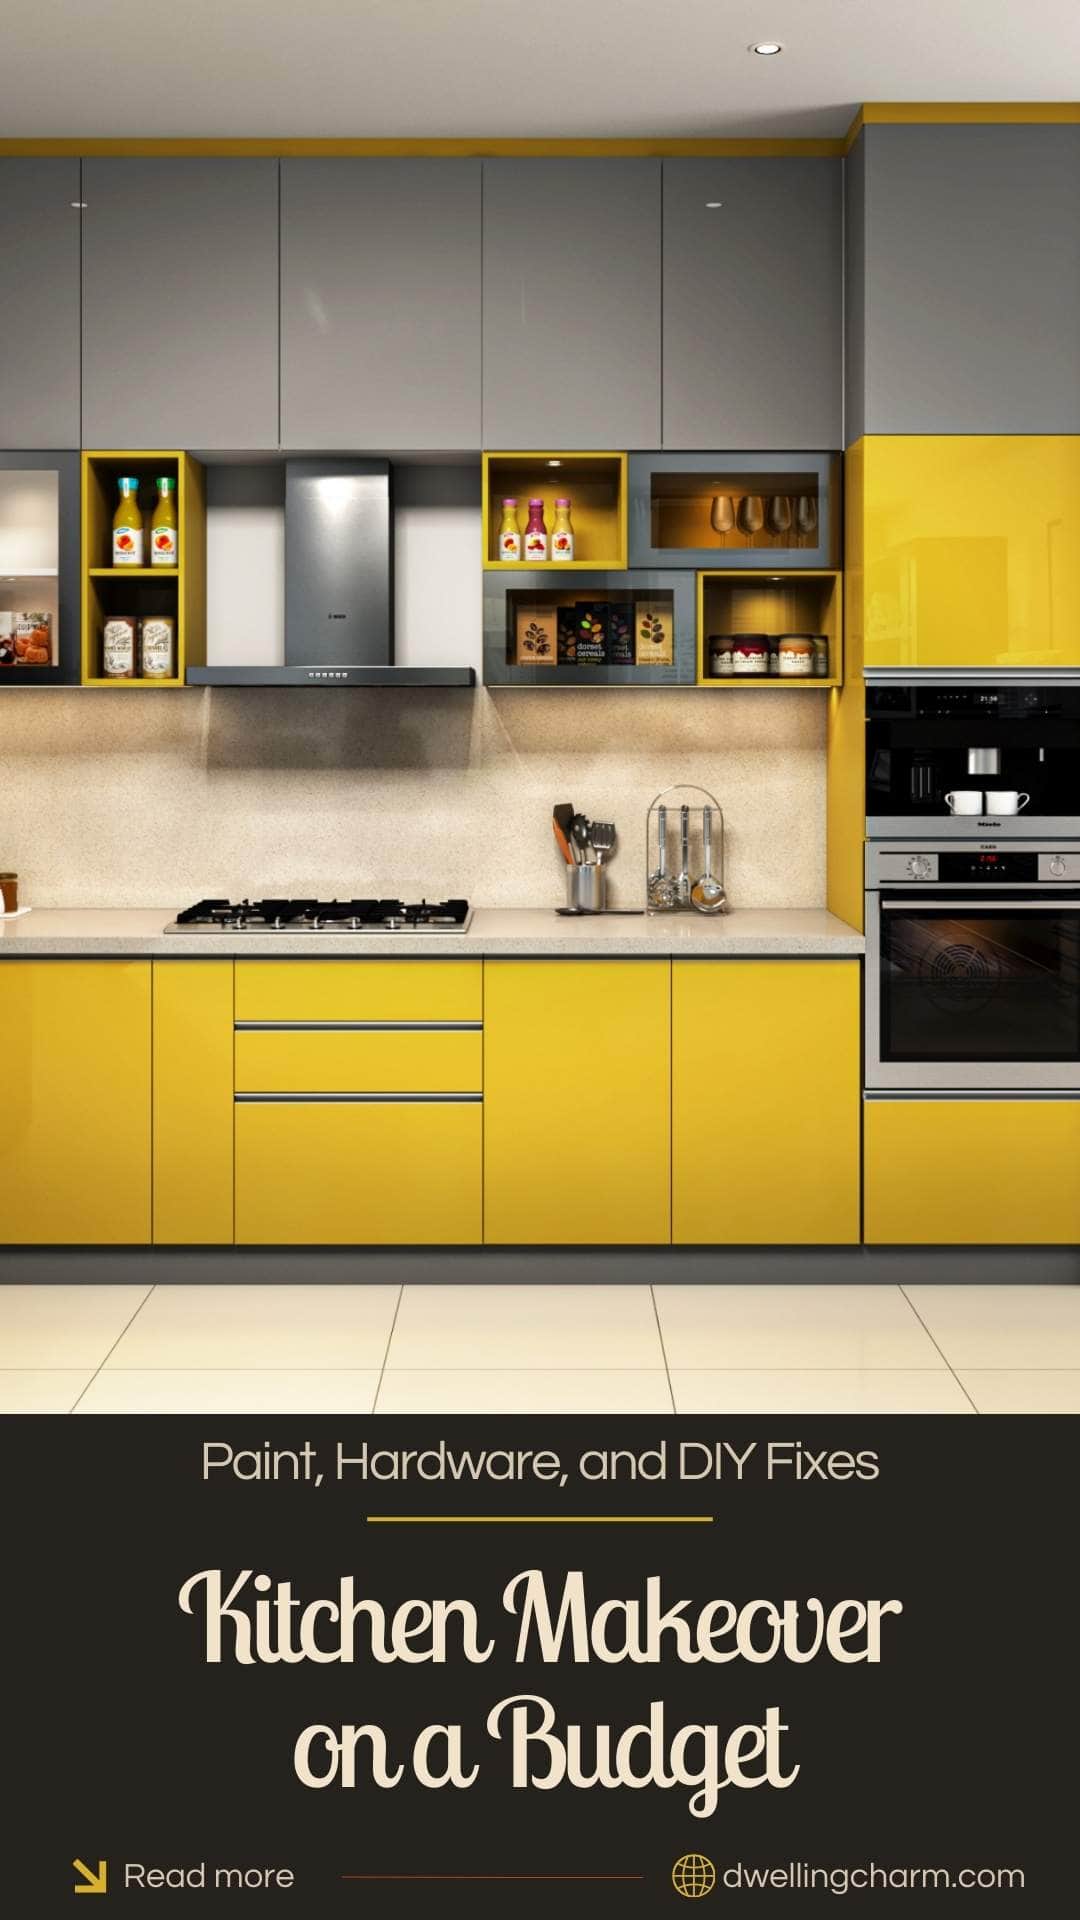
You don’t need a pro or fancy materials to make your space better. With some paint, new handles, and a bit of elbow grease—like tightening doors or scrubbing surfaces—you can get a fresh, updated look. Honestly, these steps are quick, affordable, and totally doable on your own.
Planning Your Budget-Friendly Kitchen Makeover
Before you dive into your kitchen makeover, it’s smart to sketch out a plan. What do you want to change? What bugs you most? Make a list and figure out which tools or supplies you’ll actually need. That way, you’re less likely to run into surprise costs.
Setting Realistic Goals
Be real about what you want from your kitchen update. Focus on smaller, visible changes—painting cabinets or swapping hardware is way more budget-friendly than, say, ripping out countertops.
Figure out what you can actually spend. A range between $500 and $1,200 usually covers paint, new knobs, and some minor repairs. That should keep things manageable and help you avoid overspending.
Jot down your goals somewhere. Maybe you want to update the style, fix what’s broken, or just make the space work better. Clear goals help you avoid those “oh, that looks nice, I’ll buy it” moments during your DIY kitchen makeover.
Prioritizing Kitchen Updates
Tackle the changes that make the biggest impact first. Painting cabinet doors or swapping old handles can totally refresh the room—and it doesn’t cost much.
After that, check out lighting or fixtures. Sometimes just a new bulb, a different faucet, or a peel-and-stick backsplash can update the vibe. Big-ticket items like appliances? Maybe save those for another time.
- Paint cabinet doors
- Replace hardware like knobs and pulls
- Upgrade lighting or faucet
- Add backsplash or peel-and-stick tiles
- Appliance updates (if there’s room in the budget)
That’s a pretty solid path to getting the most bang for your buck.
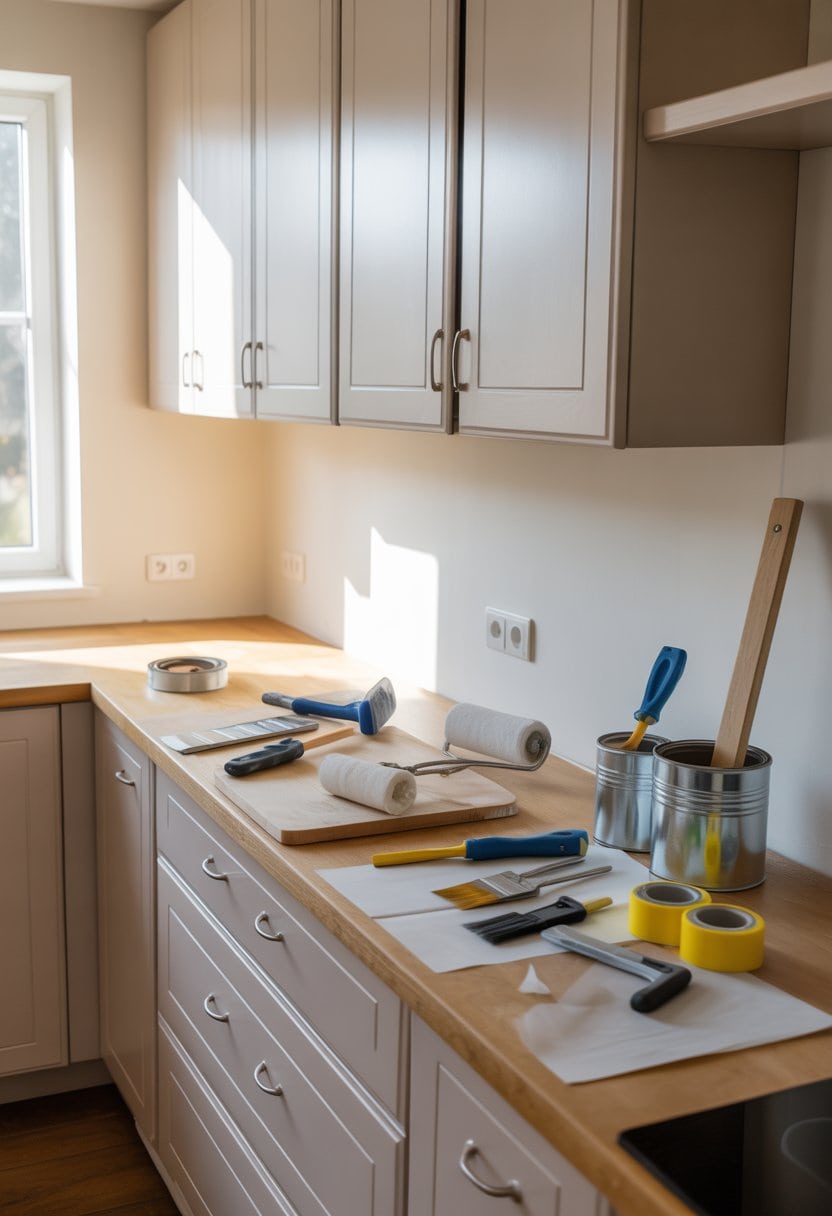
Gathering Tools and Supplies
Round up what you need before you start—trust me, running to the store mid-project is a pain. Grab paint, brushes, sandpaper, screwdrivers, and maybe some new cabinet handles or stick-on backsplash tiles.
Check your stash first. You might already own some essentials, which saves money. If you need to buy, hunt for deals at local shops or online.
Keep a checklist and compare prices as you go. Planning ahead with supplies keeps things moving and helps you dodge those random extra expenses. Staying organized means you’ll finish faster and (hopefully) under budget.
Transforming Cabinets with Paint and Hardware
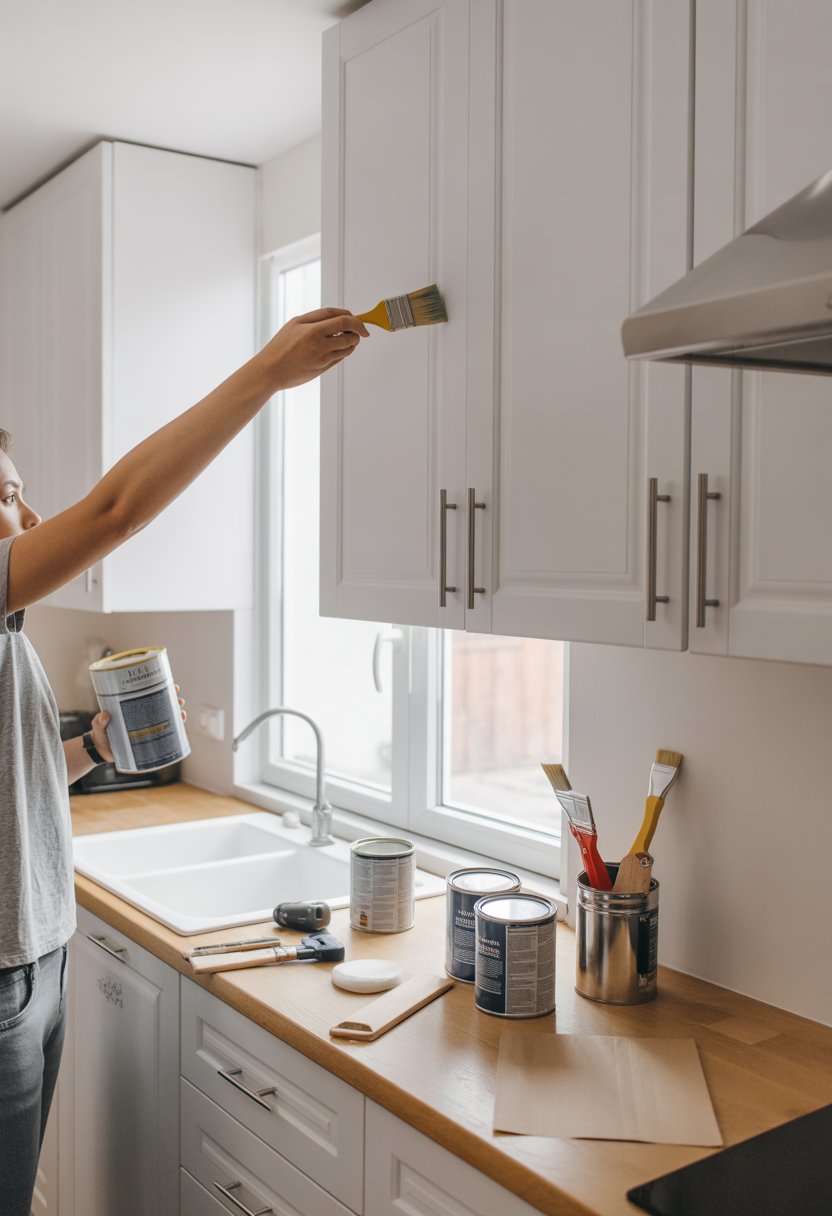
Giving your kitchen cabinets a facelift with paint and new hardware is hands down one of the best ways to refresh your space without dropping a ton of cash. The right paint color, some basic painting skills, and picking hardware that fits your vibe can make a world of difference. It’s a simple way to get a fresh look that works with your kitchen’s walls and overall feel.
Choosing Paint Colors for Cabinets
Think about what colors you already have in the kitchen. If your walls are a neutral, go bold with cabinet colors—navy blue or forest green pop against white or gray. If your walls are already pretty busy, stick with softer shades like cream, light gray, or pale blue.
Matte or satin finishes hide fingerprints better than glossy ones. Go for paint made for cabinets or furniture since it handles daily wear better. Always test a small spot first—sometimes the light changes everything.
Techniques for Painting Cabinets
Prep is everything. Take off cabinet doors and hardware. Clean all the surfaces with a degreaser—kitchens get grimy. Give everything a light sand so the paint sticks.
Use a good primer to cover bare wood. It stops stains and makes the paint go on smoother. For painting, a foam roller or high-quality brush works well. You could try spray paint for a super-smooth finish, but do it outside or with lots of ventilation.
Put on at least two thin coats, letting each dry. That helps avoid drips and makes the finish last. Wait a few days before putting doors and hardware back on—otherwise, you risk smudges.
Upgrading Cabinet Hardware
New hardware can totally change your kitchen’s style in a snap. Pick knobs and pulls that match your overall look. Brushed nickel or matte black feel modern; brass or bronze lean more traditional or rustic.
Measure your current hardware first so you know the new stuff will fit—no one wants to drill extra holes. Mixing knobs on doors with pulls on drawers gives a balanced feel.
There are plenty of budget hardware options at home stores or online. When you install, make sure to tighten everything—loose handles get annoying fast. If you’re really watching pennies, polish or paint your old hardware for a quick refresh.
Refreshing Kitchen Walls on a Budget
Changing up your kitchen walls can transform the whole space—and it doesn’t have to cost much. Picking the right color and trying out creative paint ideas can make everything feel fresh again.
Selecting the Best Wall Color
Think about your kitchen’s size and how much light it gets. Lighter colors like soft white, pale gray, or light beige make small kitchens feel bigger and brighter. These are great if you’re short on natural light.
If you want a little color, try soft blues or greens—they add a calm vibe without making things feel cramped. Use paint made for kitchens or bathrooms; it holds up to moisture and stains.
Check how your wall color will look with your cabinets and counters. No one wants clashing colors. Test a sample on a small spot and check it at different times of day—the light can really change things.
Accent Walls and Paint Ideas
An accent wall gives your kitchen personality without a full paint job. Pick a spot that stands out—maybe behind the stove or sink—and try a bold color like navy, deep green, or even a bright red.
If you’re on a tight budget, painter’s tape lets you add geometric shapes or stripes with just a little extra paint.
Chalkboard paint is another fun idea—use it on a small wall or section, and you can jot down menus or grocery lists right on the wall.
Don’t stress too much about perfection. Clean edges and even coats help, but a little character is part of the charm. Take your time, and your kitchen will feel brand new.
DIY Backsplash Upgrades
Switching up your backsplash can totally change your kitchen’s look, and you don’t need a big budget. Whether you’re thinking about installing new tiles, using peel-and-stick options, or just refreshing grout, there are easy ways to boost your kitchen’s style without much hassle.
Installing Tile Backsplash
Putting in a backsplash might sound tricky, but with the right tools and some patience, you can do it. Measure your space, pick tiles that fit your style and wallet, and clean the wall before you start.
Lay out the tiles with spacers to keep everything even. Let the adhesive dry, then fill the gaps with grout using a rubber float. Wipe away extra grout with a damp sponge before it dries. Give the grout time to cure so you don’t end up with cracks.
Tile backsplashes offer tons of design choices. They look classic and protect your walls from splashes and stains.
Using Peel and Stick Tiles
Peel-and-stick backsplash tiles are a lifesaver if you want something fast and budget-friendly. No special tools or messy glues needed. Just clean the wall, peel the backing, and press the tiles on.
You’ll find all sorts of styles, from faux subway tiles to wild patterns, so matching your kitchen is easy. If you change your mind later, they’re removable—no commitment issues here.
This is perfect for renters or anyone new to DIY who wants a fresh look without much fuss.
Refreshing Grout Lines
If your backsplash looks tired but the tiles are fine, just refresh the grout. It’s easier than you think.
Clean the grout with a cleaner or a baking soda paste. Scrub with a small brush to get rid of grime. Once it’s dry, use a grout pen or some grout paint to brighten things up.
This trick fixes stains and cracks and helps keep future mess at bay. Sometimes, it’s the little fixes that make the biggest difference.
Affordable Countertop Solutions
Want to update your countertops but don’t want to spend a fortune? You’ve got options. Butcher block countertops and countertop painting kits are two popular choices. Each gives a different look and price point, so it’s worth thinking about what fits your style (and patience level) before you start.
Butcher Block Countertops
Butcher block comes from strips of hardwood—usually maple or oak. It brings a cozy, natural vibe to your kitchen and tends to cost less than stone, but still adds plenty of character.
You’ll need to seal the wood well so it stands up to water and stains. Regular oiling keeps it looking fresh, and if you scratch or wear it down, you can just sand and refinish it. Not bad, right?
If you’re handy, you might tackle butcher block installation yourself. If not, hiring a pro works too. It’s a solid pick if you want something durable, good-looking, and budget-friendly.
Countertop Painting Kits
Painting old countertops is a quick, low-cost way to give them new life. Kits like Giani Granite Countertop Paint include paint, epoxy sealers, and pretty much everything else you’ll need.
You get to pick from lots of patterns or solid colors. Just roll on the paint, maybe add some texture, and finish it with a clear coat to make it tough and shiny.
The whole process takes a couple of days since each step needs to dry. Still, it usually costs under $100—a pretty sweet deal if you want a fresh look without a pricey replacement.
Upgrading Fixtures and Appliances
Swapping out your kitchen’s fixtures and appliances can really change things up without emptying your wallet. Focusing on practical, stylish upgrades helps you refresh the space where it matters most—like the sink and lighting.
Swapping Out the Sink
Switching your sink can boost both function and style. Pick one that fits your space and matches your kitchen’s vibe. Stainless steel is tough and easy to clean, but maybe you’re eyeing a deep basin for big pots? Totally worth considering.
Usually, a new sink means a new faucet and drain, too. You can tackle this job yourself with some basic tools. Just remember to turn off the water first. Measure twice so you don’t run into fitting headaches, and check reviews before you buy.
Replacing Light Fixtures
New lighting can make your kitchen feel brighter and more modern. Go for fixtures that give you solid task lighting—think pendant lights over an island or bright LEDs overhead.
Energy-efficient bulbs save you money over time. Most fixtures aren’t too hard to install yourself if you follow the steps and cut the power first. Choose a style that fits your kitchen—modern, rustic, classic, whatever feels right. It makes a big difference.
Creative Storage and Open Shelving Ideas
Using open shelving and smart organizers can free up space and add a little style. These ideas keep your everyday stuff within reach and help clear off those crowded counters.
Installing Open Shelving
Open shelves make your kitchen feel lighter and your favorite dishes easy to grab. Pick sturdy wood or metal shelves that fit your look.
Mount them at eye level so you don’t have to stretch. Use strong brackets if you plan to put heavy pots or glassware up there.
Keep just the plates, glasses, and cookware you use all the time on open shelves. Hide the rest in cabinets so things don’t get too cluttered.
Mix in a few plants or cookbooks for personality, but don’t overdo it. You’ll want to dust often since everything’s out in the open.
Maximizing Small Spaces with Organizers
If your kitchen’s tight, organizers inside cabinets can help. Stackable shelves let you use vertical space for more dishes or pantry goods.
Drawer dividers stop utensils from getting lost. Add hooks to walls or inside cabinet doors to hang mugs or small pans—keeps your counters open.
Clear containers or baskets group similar items together, so it’s easier to stay organized and find what you need. Labels help too, if you’re into that.
These little tweaks can make a small kitchen feel bigger and more efficient—without much spending.
Final Touches and Kitchen Styling
For those last details, focus on simple decor and smart organization. Little changes can totally shift the vibe without costing much. Keeping things clean and tidy helps your new look last longer, too.
Adding Decor and Plants
Add some personality with budget-friendly decor. Try colorful dish towels, a patterned rug, or framed prints you actually like. These are easy to swap out if you get bored later.
Plants bring a fresh touch and a bit of color. A few potted herbs on the windowsill look great and come in handy for cooking. If you’re not much of a plant person, stick with low-maintenance ones like succulents.
You might set up a small display on open shelves or the counter—group some jars, cookbooks, or bowls for a styled but unfussy look. Matching containers or baskets keep things neat and pull the design together.
Maintaining Your New Kitchen Look
Want your kitchen to keep that fresh vibe? Clean it regularly—just a quick wipe-down of the surfaces each day helps stop grime from building up, especially on those painted cupboards or countertops you worked so hard on. Stick with gentle cleaners so you don’t mess up your paint or finishes.
Give your hardware a quick check now and then. If handles or knobs start to feel loose, tighten them up. Swap out any parts that look worn. It might seem minor, but honestly, these little fixes make your cabinets feel cared for and keep things running smoothly without breaking the bank.
Try to keep clutter at bay. Drawer dividers and clear containers make it way easier to find what you need (and let’s face it, less mess means less stress). A tidy kitchen is just easier to clean, and it keeps your makeover looking good for ages.