When you’re painting your space, picking the right tools really affects how fast you finish and how good it looks. The main choices? Brushing, rolling, or spraying. The best method depends on your project’s size, the surface, and the finish you want.
Brushes give you control for small or detailed spots, rollers handle big, flat areas fast, and sprayers work quickly but need more prep to avoid a mess. Knowing these basics helps you decide what works best for your project.
Understanding Brush, Roller, and Sprayer Methods
You’ve got a few ways to get paint on the wall: brush, roller, or sprayer. Each one fits different parts of the job, whether you’re working on trim or tackling a whole wall.
How Brushes Work
Paintbrushes are great for detail and small areas. You can control exactly where the paint goes, so they’re perfect for corners, edges, and trim. There are angled and flat brushes for different jobs.
Brushes don’t hold as much paint, so you’ll dip more often. They put on thin coats, which helps avoid drips. Cleanup is easy, and you don’t need much gear.
Rollers: The Basics
Paint rollers speed up covering big, flat areas. You’ve got a frame and a sleeve—usually fabric or foam. As you roll, the sleeve picks up paint and spreads it out smoothly.
Rollers put down thicker coats than brushes, so you get done faster. They’re best for smooth or slightly textured surfaces. For big jobs, using an extension pole saves you from climbing ladders all day.
You’ll still need a brush for corners or trim, but rollers make the rest go quickly. Just remember to clean or replace the sleeves, and pick the right type for your paint.
What Is a Paint Sprayer?
A paint sprayer blasts out paint as a fine mist, making it the fastest way to cover large areas. It’s great for whole rooms or exterior walls.
There are a few types, like airless sprayers, which pull paint from a bucket and shoot it at high pressure. You get a really smooth, even finish this way.
But spraying means you need to mask off everything you don’t want painted. Setup and cleanup take longer, and there’s a learning curve to avoid drips or uneven spots. Sprayers are awesome for big jobs, but not for tiny or super-detailed areas.
Pros And Cons Of Each Painting Method
Each method has its sweet spot. Some give you more control, others help you finish faster. It’s good to know what you’re in for before you start.
Advantages and Drawbacks of Brushes
Brushes give you awesome control, especially for edges and corners. You can make clean lines and manage brush marks on detail work. For small or tricky spots, brushes just work.
The downside? Brushing is slow. If you’re not careful, you’ll see brush strokes. Getting a perfectly smooth finish with a brush takes practice and patience with blending strokes.
On the bright side, brushes are simple to use and clean. There’s no overspray, so less mess. If you want control and don’t mind taking your time, brushes make sense.
Roller Benefits and Limitations
Rollers make quick work of big, flat surfaces. They lay down thick, even coats, so you cover more ground with fewer passes. That means a more consistent smooth finish than you’ll get from brushing.
They’re perfect for walls and ceilings, cutting down on effort and brush marks. You’ll see even coverage most of the time.
But rollers aren’t great for tight spots or edges, so you’ll still need a brush for those. They can splatter paint if you go too fast, and cleaning rollers takes a bit more work.
Sprayer Strengths and Downsides
Sprayers are the fastest way to cover big areas. They leave a mirror finish that’s super smooth and even, which is ideal for big projects or when you want that flawless look.
But sprayers get messy. Overspray can put paint where you don’t want it, so you’ll spend time covering things up. It takes a bit of practice to avoid drips and uneven coats.
You don’t have much control near edges, so you’ll probably need a brush or roller for those lines. Sprayers need more setup and cleanup, but once you get the hang of it, they’re a huge time saver.
Choosing The Right Painting Method For Different Surfaces
The right tool really depends on the surface and how much detail you’re dealing with. Match your painting method to the job for the best finish with less hassle.
Best Method for Trim and Detail Work
For trim and small details, go with a brush. You get the control you need to hug edges and avoid splatters.
Masking tape helps keep lines crisp—just press it down well so paint doesn’t bleed under.
If there are cracks or holes, fill them with putty and smooth with a putty knife before you prime and paint. That way, the trim looks clean and sharp when you’re done.
Sprayers in detailed areas tend to make a mess. Brushes help you avoid drips and puddles, especially on uneven surfaces.
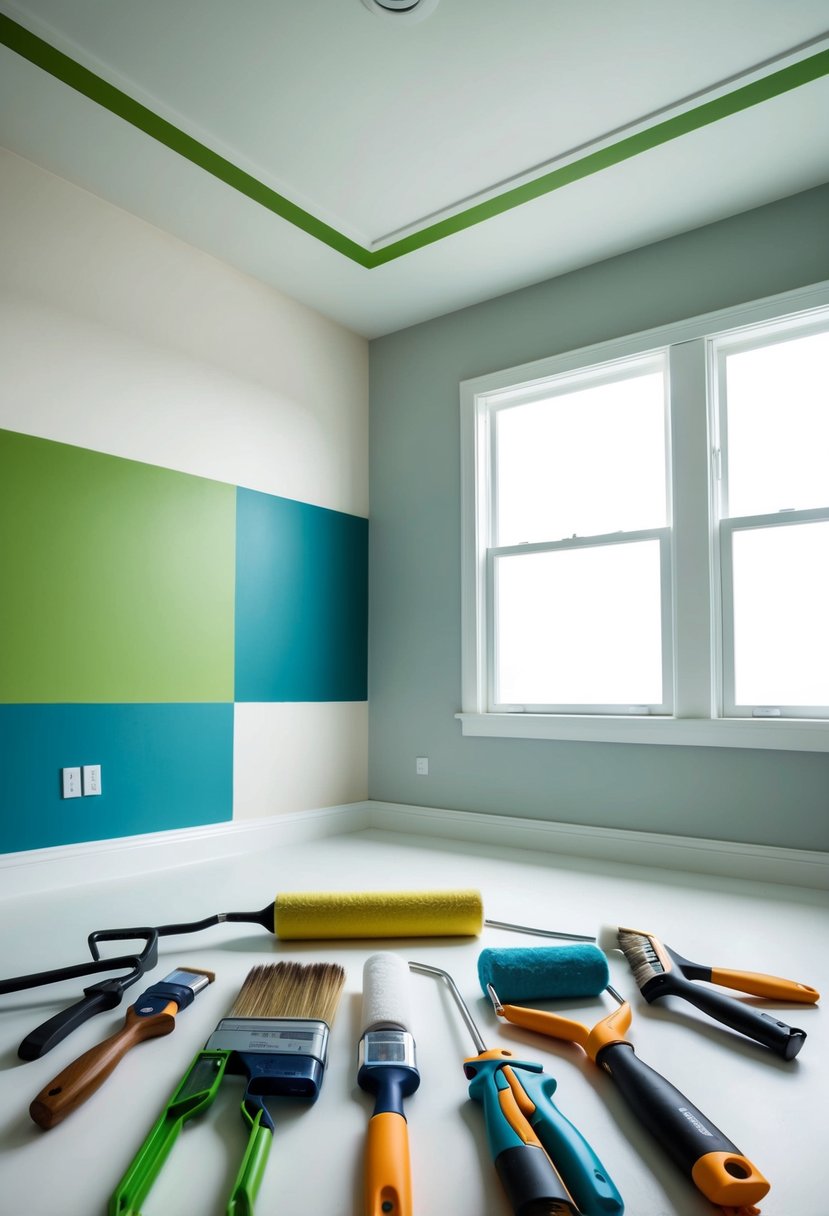
Selecting Tools for Large Flat Areas
For big walls or flat surfaces, rollers and sprayers both work. Rollers give you a nice finish on most textures and let you move fast.
If you want to go really fast, a sprayer does the job, but you’ll spend extra time masking off everything nearby. Cover furniture and floors to avoid paint dust and spots.
Priming with a roller is simple and helps the paint stick. Sprayers apply paint evenly but leave a fine mist, so prep is key.
On textured surfaces, a roller is usually better—it gets into grooves and bumps where a sprayer might miss.
Surface Preparation And Paint Types
Prepping your surface is crucial before you start painting. The paint you pick matters too—different types work better for certain surfaces and situations.
Preparing Surfaces for Painting
Start by cleaning off dirt, dust, or grease. Soap and water usually do the trick. Let everything dry before painting.
Sand rough spots so the paint sticks better. Fill holes or cracks with spackle, then sand those areas once they’re dry.
If old paint is peeling, scrape it away so the new paint doesn’t peel later.
With sprayers, you’ll need to cover anything you don’t want painted. With brushes or rollers, you can get away with a little less masking.
Understanding Latex and Oil-Based Paints
Latex paints dry quickly and clean up with soap and water. They’re great for indoor walls that won’t see a lot of abuse. Latex also flexes with the wall, which helps prevent cracking.
Oil-based paints dry slower and need mineral spirits for cleanup. They’re tougher, so they work well on doors, furniture, and trim.
If you use oil-based paint, make sure the surface is clean and dry. Oil paints stick best to bare wood or oil-primed surfaces.
Both types have their uses. Think about your timeline and what you’re painting before you decide.
Techniques For Achieving Professional Results

If you want a smooth, even finish, it’s all about the right approach and tools. Here’s how to get paint on the wall like you (almost) know what you’re doing.
Tips for Even Coverage and Smooth Finishes
Use good quality tools—angled brushes, dense rollers, or a reliable sprayer. They’ll help you avoid streaks and clumps. With a brush, use long, steady strokes and don’t dunk it in too much paint.
For rollers, try a “W” or “M” motion, then fill in the gaps. Don’t press too hard—let the roller do the work.
With a sprayer, keep it moving and hold it about a foot from the wall. Overlap your passes so you don’t get lines. Wait for the first coat to dry before adding another.
Avoiding Common Painting Mistakes
Take your time. If you rush, you’ll end up with drips or patchy spots. Use light, even pressure with brushes and rollers to avoid marks.
Prep your surface by cleaning and sanding—paint won’t stick to dirty or rough areas.
Watch out for paint buildup at edges and corners. A smaller brush helps keep those lines sharp.
Before spraying, test on cardboard. It lets you adjust the spray and pressure for a smoother finish.
Finishing Touches and Cleanup
Once the last coat dries, take a close look for any missed spots or drips. If you find some, just grab a small brush and touch them up.
Wash your brushes and rollers right after using them—warm soapy water works for most paint, but sometimes you’ll need thinner. Clean tools last longer and save you hassle next time.
Seal leftover paint in containers and jot down the room or color on the lid. You’ll thank yourself later if you ever need to do a quick fix.
When you’re cleaning up, peel off painter’s tape while the paint’s still a bit tacky. It’s a simple trick to keep edges from getting ragged or peeling up.
Painting Projects: Interior vs. Exterior
Picking between a brush, roller, or sprayer really depends on where you’re working. Each tool has its sweet spot depending on the surface, speed, and how much prep you want to deal with.
Interior Painting Recommendations
For most inside walls and ceilings, I’d go with a roller. It covers big, flat areas evenly and doesn’t burn through paint as fast as a sprayer. Brushes are perfect for corners, trim, and anywhere you need a steady hand.
Sprayers can definitely move things along, but you’ll spend more time masking off windows, furniture, and floors to keep paint from getting everywhere. If you go this route, crack a window and cover everything you care about with plastic or tape.
Honestly, a roller paired with a brush for detail work gives you a smooth finish and doesn’t waste paint. Plus, it’s usually less chaotic and way easier to clean up afterward than spraying.
Exterior Work Considerations
When you’re painting outside, sprayers really speed things up once you’ve done the prep. Still, you have to carefully tape off windows, doors, and honestly, anything you don’t want splattered—plants included.
Brushes and rollers take more time, but they usually give you a finish that holds up better, less likely to peel or crack. Sprayers burn through about 25% more paint, so rolling can keep your costs down if you’re watching the budget.
Weather’s a big deal for exterior painting. You really want dry, mild days so the paint actually sticks, no matter how you’re applying it. And if you’re dealing with rough wood siding, a brush just gets into those little crevices better.
| Method | Speed | Paint Use | Finish Quality | Prep Needed |
|---|---|---|---|---|
| Brush | Slow | Low | Best for edges | Moderate |
| Roller | Medium | Moderate | Smooth, durable | Moderate |
| Sprayer | Fastest | High | Can be uneven | Extensive masking |