Painting a room can feel overwhelming, but if you break it down, you can absolutely get pro-level results. To paint a room well, you’ve got to prep the walls, grab the right tools, and take your time applying the paint for a nice, smooth finish. Doing these things helps you sidestep the usual pitfalls, makes the job go quicker, and you’ll be happier with how it turns out.
You don’t need to be a contractor to make a room look sharp. Fixing cracks, pulling out old nails, and using a steady hand with your roller and brush will freshen up any space. Good prep and habits really do most of the heavy lifting.
Just getting started with a few simple tips can boost your confidence and save you a lot of time. Whether you’re new to painting or just want to up your game, learning how to paint a room like a pro makes the whole process less stressful—and the results are way more satisfying.
Essential Tools and Materials
Getting the right tools is half the battle. Good brushes, rollers, tape, and a few extras will help you work faster and get those crisp, clean lines everyone wants.
Choosing the Right Paint Brushes
Your choice of brush matters more than you might think. Use quality brushes with synthetic bristles for water-based paints, and natural bristles for oil-based ones.
Here’s a quick guide:
- 1.5 to 2.5-inch angled brushes are perfect for edges and trim.
- Wider brushes work best for broad surfaces or when you’re just touching up.
Keep your brushes clean as you go. Old, cheap brushes tend to shed bristles and leave streaks, so don’t hang onto them too long.
Selecting a Quality Roller and Roller Frame
Rollers make quick work of big walls. Match your roller to your wall’s texture:
- Smooth roller (¼-inch nap) for flat walls.
- Medium nap (⅜ to ½ inch) for lightly textured walls.
- Thicker nap (¾ inch or more) for rough surfaces like stucco.
Grab a sturdy roller frame that holds the roller tight and spins easily.
A removable extension pole helps you hit those high spots without wobbling on a ladder. Double-check that your pole fits the roller frame and locks in place.
Importance of Painter’s Tape and Masking Tape
Painter’s tape is a lifesaver for avoiding paint in the wrong spots. Go with blue painter’s tape—it sticks well but comes off cleanly.
Stick tape along trim, windows, and baseboards, and press it down firmly for a tight seal.
Masking tape can work in a pinch, but it sometimes rips paint or leaves sticky gunk behind. Save it for areas that don’t need to look perfect, and don’t leave it on too long.
Pull the tape off soon after you finish painting, while things are still a bit wet. That helps prevent peeling.
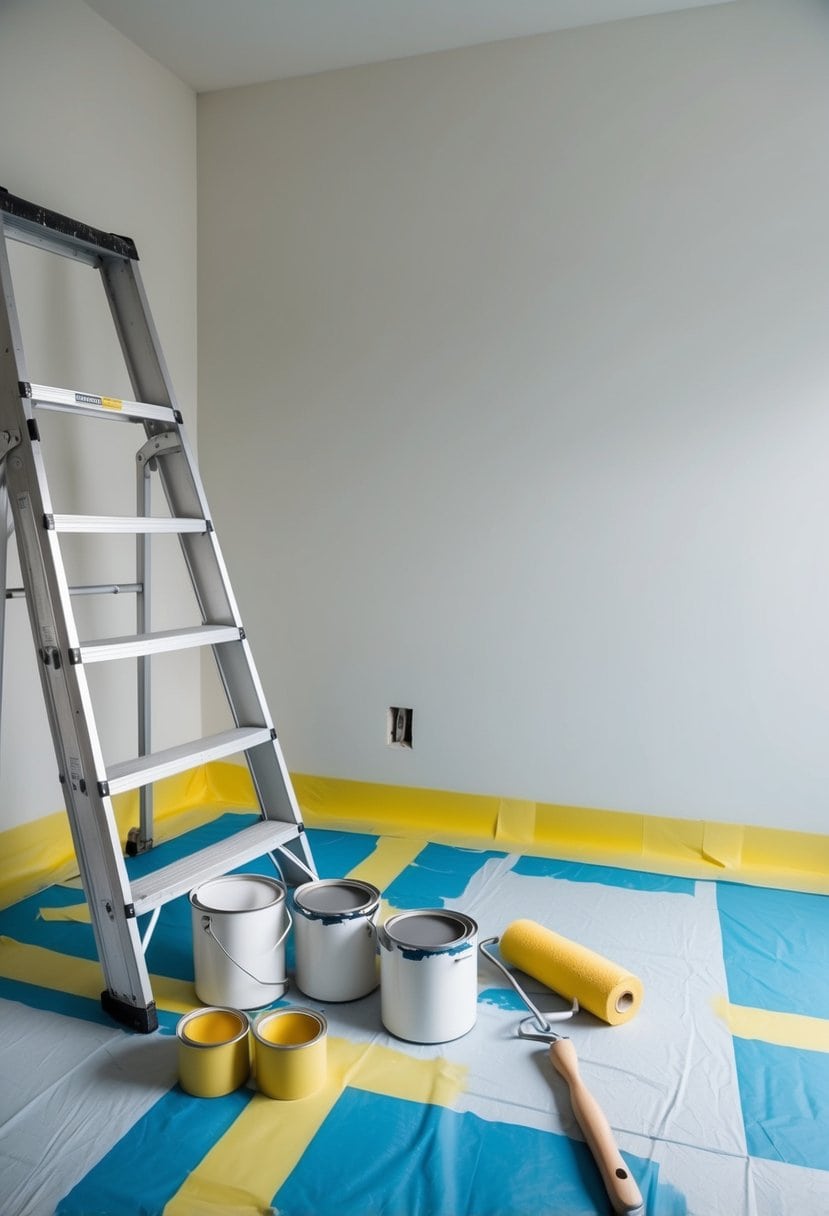
Paint Trays, Drop Cloths, and Extension Poles
Don’t forget a paint tray so you can load your roller evenly. Trays with a textured ramp are best—they let extra paint drip back down.
Cover your floors and furniture with canvas drop cloths. They soak up spills and don’t slip around like plastic sheets. Plus, you can use them again next time.
An extension pole makes ceilings and tall walls much easier. Look for a lightweight one that locks securely so you’re not fighting with it as you work.
Planning Your Painting Project
Planning ahead really pays off. You’ll pick colors and finishes that fit your space, and you’ll figure out how much paint to buy so you won’t run out halfway through—or end up with gallons left over.
Choosing Paint Color and Type
Think about your room’s style and lighting before you commit to a color. Test a few samples right on your wall—sometimes what looks good in the store looks totally different at home. Lighter colors can open up a small room, while darker ones create a cozy vibe.
Pick the right type of paint for each surface. For walls, eggshell or satin finishes are easy to clean. Use ceiling paint up top so you don’t get drips. Trim and doors look best with semi-gloss—it’s tougher and stands up to bumps.
What’s the room for? Kitchens and bathrooms need paint that fights mold. Matte finishes hide flaws, but they’re not great if you need to scrub. It’s a bit of a trade-off, honestly.
Estimating Paint Quantities
Grab a tape measure and jot down the length and height of each wall. Multiply to get the area, add it all up, and subtract windows and doors. Most paint cans say they cover about 350 square feet per gallon—just check the label.
Buy a little extra for touch-ups or a second coat. It’s better to have some left than to run out with one wall to go. Seal leftover paint tightly for next time.
Preparation Steps for a Professional Finish
Prepping your space is honestly where most of the magic happens. Clean walls, smooth surfaces, and covered floors set the stage for a paint job that actually lasts.
Cleaning Surfaces with Sugar Soap
Start by washing the walls with sugar soap. It cuts through dirt, grease, and whatever else is stuck on there that might mess with your paint.
Mix the sugar soap with water (just follow the directions) and wipe down sections from top to bottom using a sponge or cloth.
Rinse with clean water to get rid of any soap film, then let everything dry out completely before moving on.
Repairing Imperfections and Sanding
Scan your walls for holes, cracks, or dents. Patch them up with spackle or filler using a putty knife. Let it dry—it’s worth the wait.
Sand the patched spots smooth with fine sandpaper. You might want to give the whole wall a light sanding to help the new paint stick.
Wipe away dust with a damp cloth when you’re done sanding.
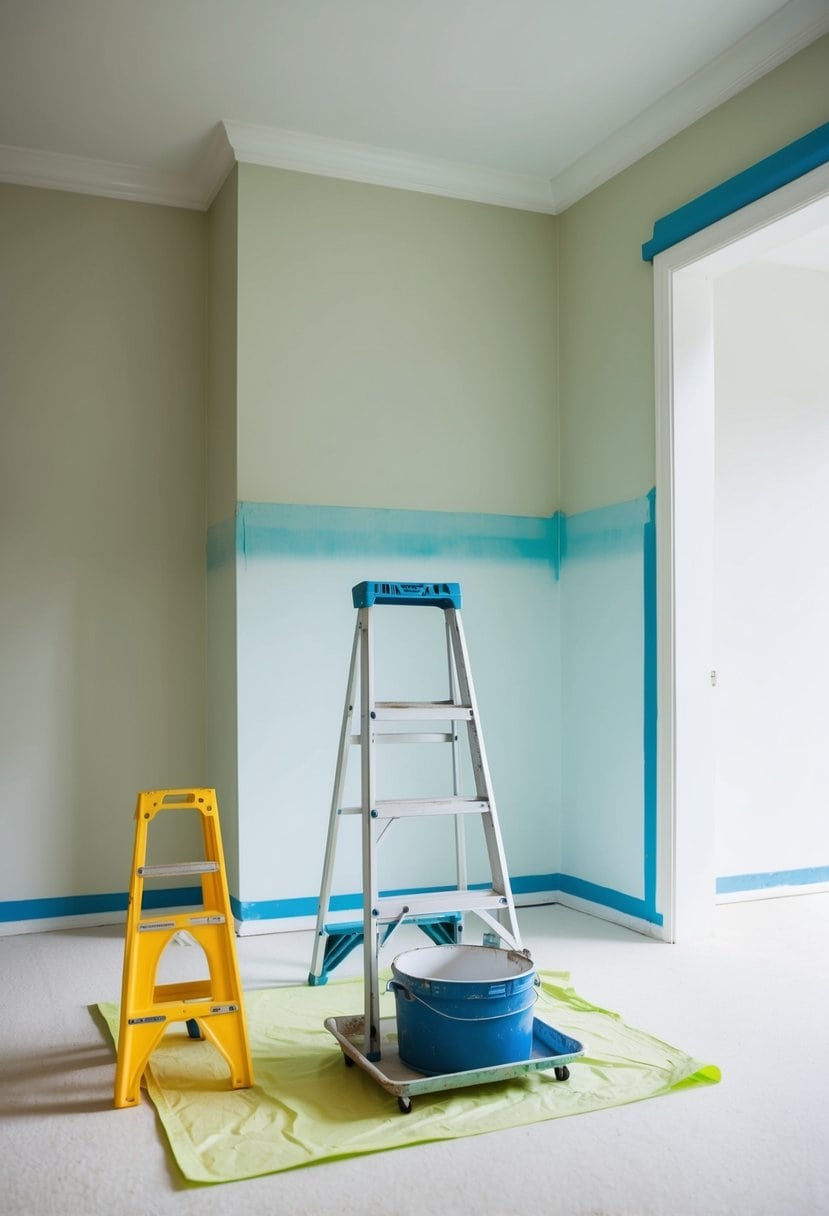
Protecting Floors and Furniture
Lay down drop cloths or old sheets to catch drips. Anchor the edges so you’re not tripping over loose fabric.
If you can, move furniture out. If not, just push it to the center and cover it up well.
Take off switch covers, outlet plates, and vent covers so you can paint right up to the edges without making a mess.
Taping, Masking, and Cutting In

If you want sharp lines and clean edges (and who doesn’t?), taping and cutting in are musts. The right tape and a steady hand make all the difference.
Applying Painter’s Tape for Clean Lines
Go for blue painter’s tape—it’s made for this job and won’t leave a sticky mess. Stick it down firmly along baseboards, trim, or ceilings. Keep the roll flat against the wall for a straight line.
Work in short sections, maybe 8 inches at a time, to keep things neat. Once the tape is on, press it down with your hand or a flat tool to seal the edges so paint can’t sneak under.
If you’re worried about splatters, try masking tape with aluminum foil to cover fixtures or switches quickly.
Pull the tape off when the paint is still a little tacky or just dry. Go slow and pull at a 45-degree angle to avoid peeling up the fresh paint.
Techniques for Cutting In Edges
Cutting in is just painting where your roller can’t reach—corners, along trim, that kind of thing. Use a small angled brush for better control.
Dip only the tip of the brush in paint to avoid drips. Start a bit away from the edge and carefully pull the brush along the line.
Take your time. Rest your hand against the wall or ceiling to keep it steady. If you mess up, wipe it off with a damp cloth or use a clean, wet brush to fix the edge before it dries.
Nailing both taping and cutting in saves paint and makes your room look like you hired a pro—even if you didn’t.
Priming the Walls and Ceilings
Priming isn’t glamorous, but skipping it is a rookie mistake. It helps paint stick and gives you that even, rich color you’re after.
When and Why to Use Primer
Use primer if your walls have stains, bare drywall, or patches from repairs. Primer seals the surface so paint doesn’t soak in unevenly. You’ll use less paint and get smoother coverage.
Ceilings need primer too. It helps ceiling paint go on evenly and prevents peeling or blotchy spots.
Primer hides old colors, especially when you’re making a big color change. It’s the foundation for a finish that actually looks good.
Applying Primer Evenly
Grab a good roller made for primers—you’ll get a smoother coat that way. Start by cutting in the edges with a brush, especially up by the ceiling and in the corners. It’s a little tedious, but you get cleaner lines.
Roll on the primer in thin, even layers. Too much primer just drips, and too little doesn’t really cover. Working in small sections helps keep things wet and manageable.
For ceilings, try a roller with an extension pole so you’re not breaking your back. Roll in a “W” pattern, then fill in the gaps—this helps avoid streaks and weird marks.
Let the primer dry all the way before painting. Check the can for drying times since they’re all a bit different. Skipping this step? Your paint probably won’t last or look as good.
Painting Techniques for a Flawless Finish
Getting a smooth, even finish takes some patience and a little know-how. You’ve got to pay attention to how you use the roller, keep a wet edge, and handle brushes with a bit of care. If you rush, you’ll end up with streaks or patchy color—nobody wants that.
Working with a Wet Edge
Keeping a wet edge just means making sure the paint stays fresh as you move along the wall. Otherwise, you get those ugly lines where one section dries before you reach it. Work in small sections, and blend each new bit into the last while it’s still wet. It sounds fussy, but it really does help.
Roll your paint upwards (or pick a direction), and overlap a little on the wet edge to smooth out any gaps. Don’t take long breaks between sections, or the edges will dry and show.
If you notice dry spots, quickly roll over them again before the paint sets. It’s not a big deal unless you let it sit too long.
Best Practices with Rollers
Choose a roller with the right nap for your walls—a short nap (about 1/4 inch) for smooth walls, or a longer nap (3/4 inch or more) for rougher surfaces. That way, the paint goes on evenly without weird textures.
Load up your roller by dipping and rolling it on the tray rails. Knock off extra paint on the tray’s ridges so you’re not dripping everywhere. Start with a W or M shape, then fill in the gaps using vertical strokes. It’s not a hard rule, but it works for most people.
Keep steady, gentle pressure, and try not to go back over dry paint. If you do, you might get streaks or even peel up what you just did. Annoying, right?
Using Brushes for Trim and Corners
Brushes really shine in tight spaces—think trim, corners, and spots where rollers just can’t reach. A good angled brush gives you more control and cleaner lines, which is what you want.
Dip the brush about a third of the way into the paint—any deeper and you’ll just make a mess. Use smooth, long strokes along the edges. Overloading the brush just leads to drips and splatters, so go easy.
Paint the corners first, then move on to the trim. Take your time, and if you mess up, wipe it off with a damp cloth before it dries. It’s not the end of the world—just keep things tidy and you’ll be fine.
Finishing Touches and Clean-Up
Once the paint dries, paying attention to little details really makes the room pop. Removing tape carefully and cleaning your tools helps your paint job last and keeps your space from turning into a disaster zone.
Removing Tape and Final Details
Peel off painter’s tape while the paint’s still a bit tacky. If you wait too long, you risk peeling or cracking the paint. Pull it back slowly at a 45-degree angle—don’t rush this part, or you’ll regret it.
Check for missed spots or uneven patches. A small brush can fix drips, streaks, or thin areas. If you see rough edges, a light sanding before another coat can help.
Want to protect things like cords or handles? Aluminum foil actually works better than tape sometimes. It molds around stuff and keeps paint splatters away.
Cleaning Tools and Storage Tips
Wash your brushes and rollers as soon as you finish. Go with warm, soapy water for latex paint, or grab some mineral spirits for oil-based paint. If paint dries on your tools, they’re basically toast—so don’t wait.
Scrape off extra paint and put it back in the can. Make sure the lid’s on tight so your paint doesn’t dry out before next time.
If you’re taking a break, wrap your brushes in plastic wrap or aluminum foil. That way, they’ll stay moist and you can pick up where you left off in a day or two. Once you’re done for good, hang the dry brushes so they keep their shape.