Painting your own walls is a solid way to freshen up your space and save a chunk of cash. Still, mistakes happen—uneven color, messy lines, wasted paint. If you know what to look out for, you’ll probably feel a lot more confident tackling your project.
Avoiding common DIY painting mistakes will save you time, money, and frustration. With a few simple tips, you can get your walls looking smooth—even if you’ve never painted before. Here’s what you’ll want to avoid so your paint job actually turns out how you imagined.
1) Skipping surface preparation
Before you grab a brush, take a minute to prep the surface. If you skip this, paint just won’t stick right. Dirt, dust, or grease? That stuff will make your paint peel or look blotchy.
Clean the area with a mild detergent or degreaser. Let it dry all the way before you start painting.
Look for cracks, holes, or rough patches. Fill them with putty, then sand things smooth. A little prep goes a long way toward making your paint last and look good.
2) Ignoring primer application
It’s tempting to skip primer, but you’ll probably regret it. Primer helps paint stick and covers up stains or dark colors. Without it, you might end up with peeling or uneven color.
Primer also means you’ll need fewer coats of paint. That saves effort and, honestly, money.
It’s crucial on bare wood, metal, or new drywall. Primer protects these surfaces and can help prevent moisture damage or rust.
3) Using the wrong paint type
Picking the right paint isn’t just about color. Different surfaces need different kinds of paint. Interior paint for walls, exterior paint for outdoor stuff—use the wrong one and you’ll see peeling, chipping, or fading way sooner than you’d like.
Finish matters too. Glossy paint’s easy to clean, matte hides flaws. Make sure your paint matches both the surface and the vibe you’re after.
If you’re not sure, check the label or ask someone at the store. Using the right paint keeps your project looking good longer.
4) Painting in unfavorable weather
Painting when it’s too cold or hot can mess things up. If it’s cold, paint dries slow or doesn’t cure, and that leads to peeling or cracking.
High humidity or rain? That’ll make your paint job bubble or dry weird. You could end up with sticky, uneven walls.
Best bet: paint on dry days between 50°F and 85°F. Always check the weather first. Seriously, waiting a couple days is better than having to redo the whole thing.
If you can’t avoid painting in tricky weather, look for paint designed for those conditions. Some brands make formulas that handle cool temps or humidity better.
Always read the paint can instructions—they usually have solid advice about when and how to use the product for the best results.
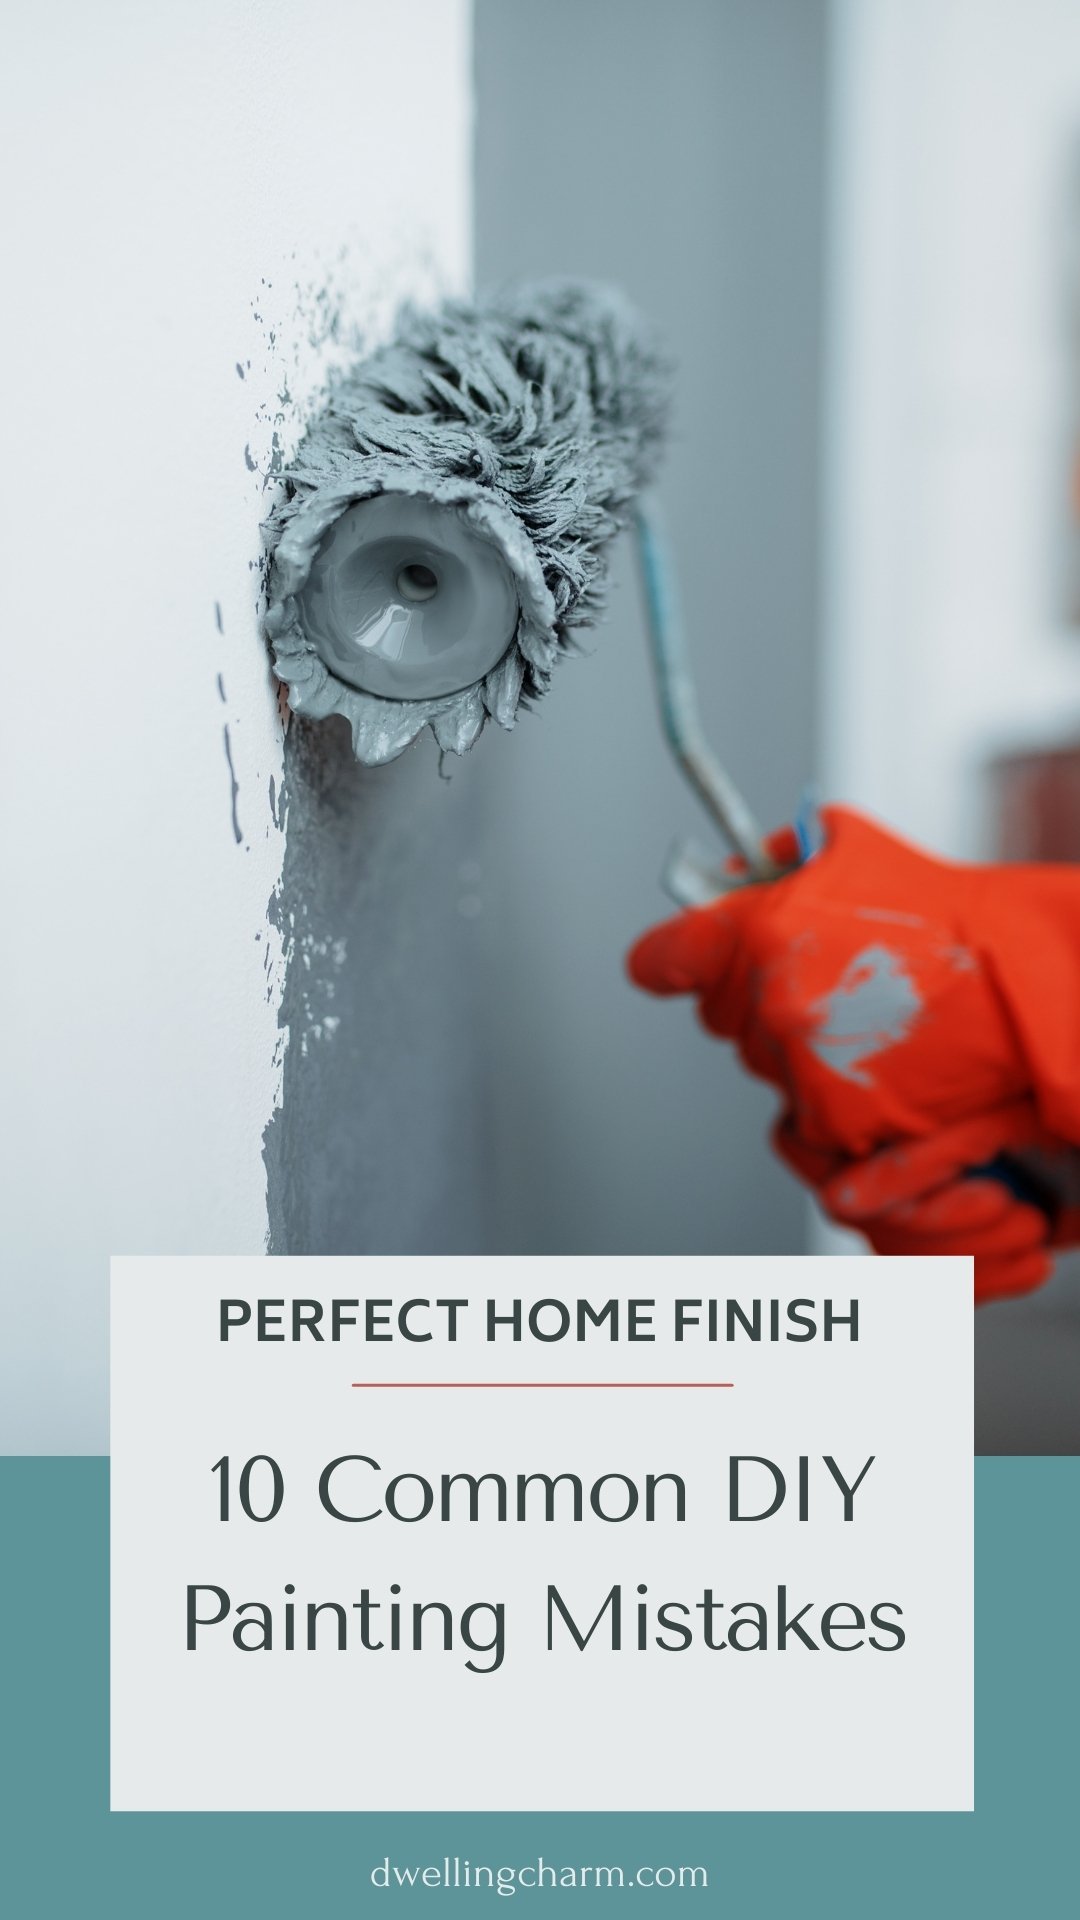
5) Not removing outlet and switch covers
Always take off outlet and switch covers before painting. If you leave them on, paint can build up around the edges, and removing those covers later might peel off your fresh paint.
With covers off, you get cleaner edges and no splatters on the plastic. It also saves you from annoying touch-ups.
Don’t forget to turn off the power before you remove anything. After the paint dries, just screw the covers back on for a tidy finish.
6) Applying paint unevenly or haphazardly

If you paint unevenly, the finish just looks sloppy. Pressing too hard with your brush or roller is usually the culprit. Try to keep your touch light and steady.
Tackle small sections and always keep a wet edge—meaning, blend into the previous area before it dries. This avoids streaks and weird patches.
Thick coats lead to drips and sags. Use thin, even coats and add more after the first dries if you need to.
Don’t rush. Steady strokes with your brush or roller make a huge difference.
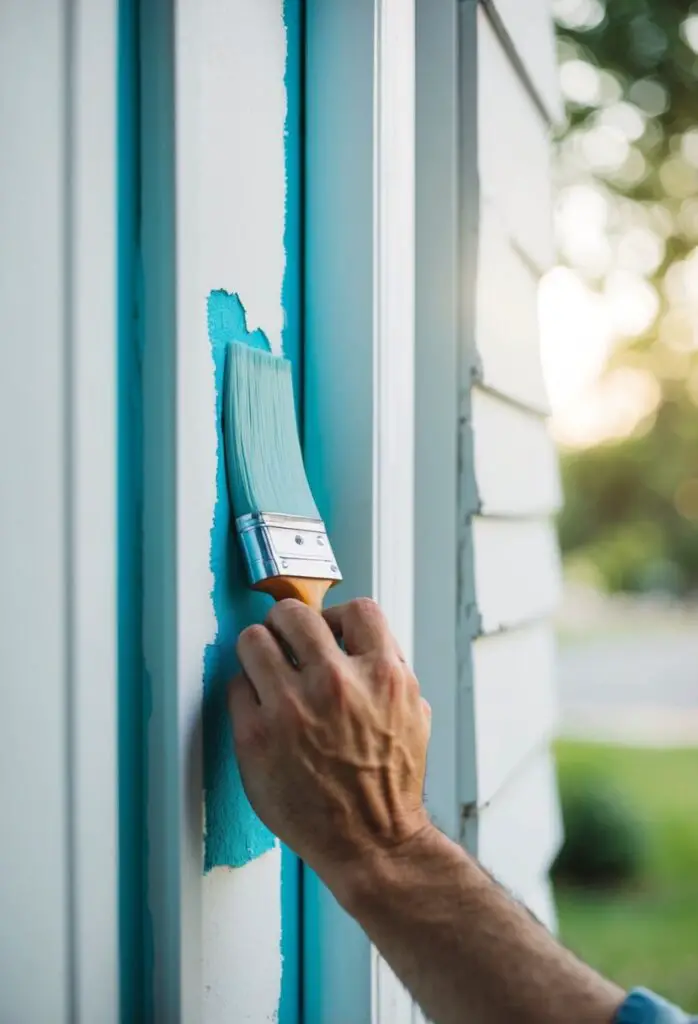
7) Waiting too long to remove painter’s tape
Pull off painter’s tape while the paint’s still wet. Wait too long and the tape might yank up your paint, wrecking your crisp edge.
This happens a lot on wood or glass, where dried paint really sticks to the tape.
Peel the tape back slowly at a 45-degree angle. If the paint’s still wet, you’ll usually get a sharp line with no peeling.
Try to plan ahead so you can remove the tape right after painting. It saves you from annoying touch-ups later.
8) Choosing paint colors that clash with room decor
When you pick a paint color, think about your furniture and decor. If the colors don’t play well together, the room can feel off or just plain awkward.
Go for colors that match or complement what you already have. A bright red wall and pastel furniture? Probably not the move. Neutrals are usually safe and flexible.
Check how the paint looks next to your fabrics, rugs, and curtains. Sometimes the smallest detail can throw the whole vibe off.
If you’re not sure, test a small patch near your furniture. See how it looks in different light before you commit.
9) Using incorrect roller nap or brush type
Picking the right roller nap matters. It’s the fuzzy part that holds paint. Too short or too long, and you’ll get patchy coverage.
Short nap rollers work best for smooth walls. For rough or textured surfaces, use a longer nap. That way, you get an even coat without missing spots.
Brush type counts too. Use synthetic bristles for water-based paints and natural bristles for oil-based. The wrong brush or roller can leave streaks or make your job drag on forever.
Think about the surface and paint type before you choose your tools. It really does make painting easier and helps you get a smoother finish.
10) Overworking the paint causing streaks
It’s tempting to fuss over every little spot as you paint, but honestly, overworking the paint just makes things worse. When you keep brushing or rolling after the paint starts drying, you’ll get streaks and those stubborn marks that just won’t go away.
Try to stick with steady, even strokes while the paint’s still wet. If you notice thin areas, resist the urge to fix them right away—just let the first coat dry and go back for a second coat later if you need to.
The amount of paint you load onto your brush or roller matters too. Not enough paint? You end up scrubbing and making streaks. Too much? Now you’re dealing with drips and runs. It’s a balancing act, honestly.
If you’re still seeing streaks after two coats, a tinted primer could really help. It gives a solid base and makes it easier to hide those streaks on your next pass.
Patience really pays off here. Let every layer dry all the way, and try not to mess with drying edges. It’s not always easy, but your paint job will look a lot smoother in the end.
Understanding the Basics of House Painting
If you want a paint job that actually lasts and looks good, you’ve got to start with decent materials and prep your surfaces. Skipping these steps just leads to wasted time and headaches like peeling or blotchy color.
Choosing the Right Paint and Tools
Match your paint to the room and surface. Kitchens and bathrooms? Go with washable semi-gloss—it stands up to moisture. Matte paint is fine for low-traffic spots, but it’s a pain to clean if you ever need to.
Pick brushes and rollers that work with your paint. Synthetic brushes are best for water-based paints, and natural bristles go with oil-based. Rollers come in all sorts of thicknesses; thinner nap for smooth walls, thicker for textured ones.
Don’t cheap out on tape, drop cloths, or paint trays. Good tools make a real difference and save you from a ton of cleanup later.
Preparing Your Surfaces Properly
Before you even think about painting, clean the walls to get rid of dust, dirt, and grease. It’s not fun, but it helps the paint stick. Usually, soap and water is enough, but sometimes you’ll need a stronger cleaner for stubborn spots.
Sand any rough patches until they’re smooth. This step keeps bumps from showing through your paint. For holes or cracks, fill them with spackle, let it dry, and sand it down.
Primer comes next—pick one that matches your surface and paint. Primer seals things up, helps paint grab on, and keeps stains from bleeding through. People skip primer all the time, but honestly, it just ruins the finish.
Ensuring Lasting Results
If you want your paint job to stay looking fresh, you’ve got to take care of it and fix mistakes before they get worse. It’s not just about the painting—it’s about keeping everything looking good after, too.
Maintaining Your Painted Surfaces
After you finish painting, leave the walls alone for at least a week. The paint needs time to fully cure. When you finally clean them, use a soft cloth and some mild soap so you don’t mess up the finish.
Be careful with furniture and sharp objects near the walls. Throw some felt pads under chair legs and don’t drag stuff around if you can help it.
If you want those colors to stay bright and the surface to stay smooth, try to control the room’s humidity and temperature. Too much humidity? Paint can peel. Good airflow helps paint dry right and last longer.
Correcting Painting Errors After They Happen
Notice a drip, crack, or some peeling? It’s best to jump in right away. Grab some fine-grit sandpaper and gently smooth out the problem area. Wipe away any dust before you paint again.
For little chips or scratches, just grab a brush or a small roller and touch up the spot. Try your best to match the paint—both the type and color—so things don’t look patchy. It’s not always easy, but it’s worth the effort.
Peeling around corners or edges? Scrape off any loose paint first. After that, slap on some primer before you repaint. It helps the new paint stick and keeps the issue from popping up again.